Try NVIDIA's NVKE Today, No GPU Hardware Needed
Contents
NVIDIA recently open-sourced NVKE, the NVIDIA Kubernetes Engine. It turns a fleet of GPU machines into a managed Kubernetes service: one management cluster runs NVKE, and NVKE creates isolated tenant clusters on demand.
You don’t need a GPU to try it. NVKE ships mock-NICo, a simulator that fakes each GPU machine as a Docker container. This post takes one Ubuntu VM from zero to a running tenant cluster.
NVKE is in preview. Use this for local evaluation only.
Architecture#
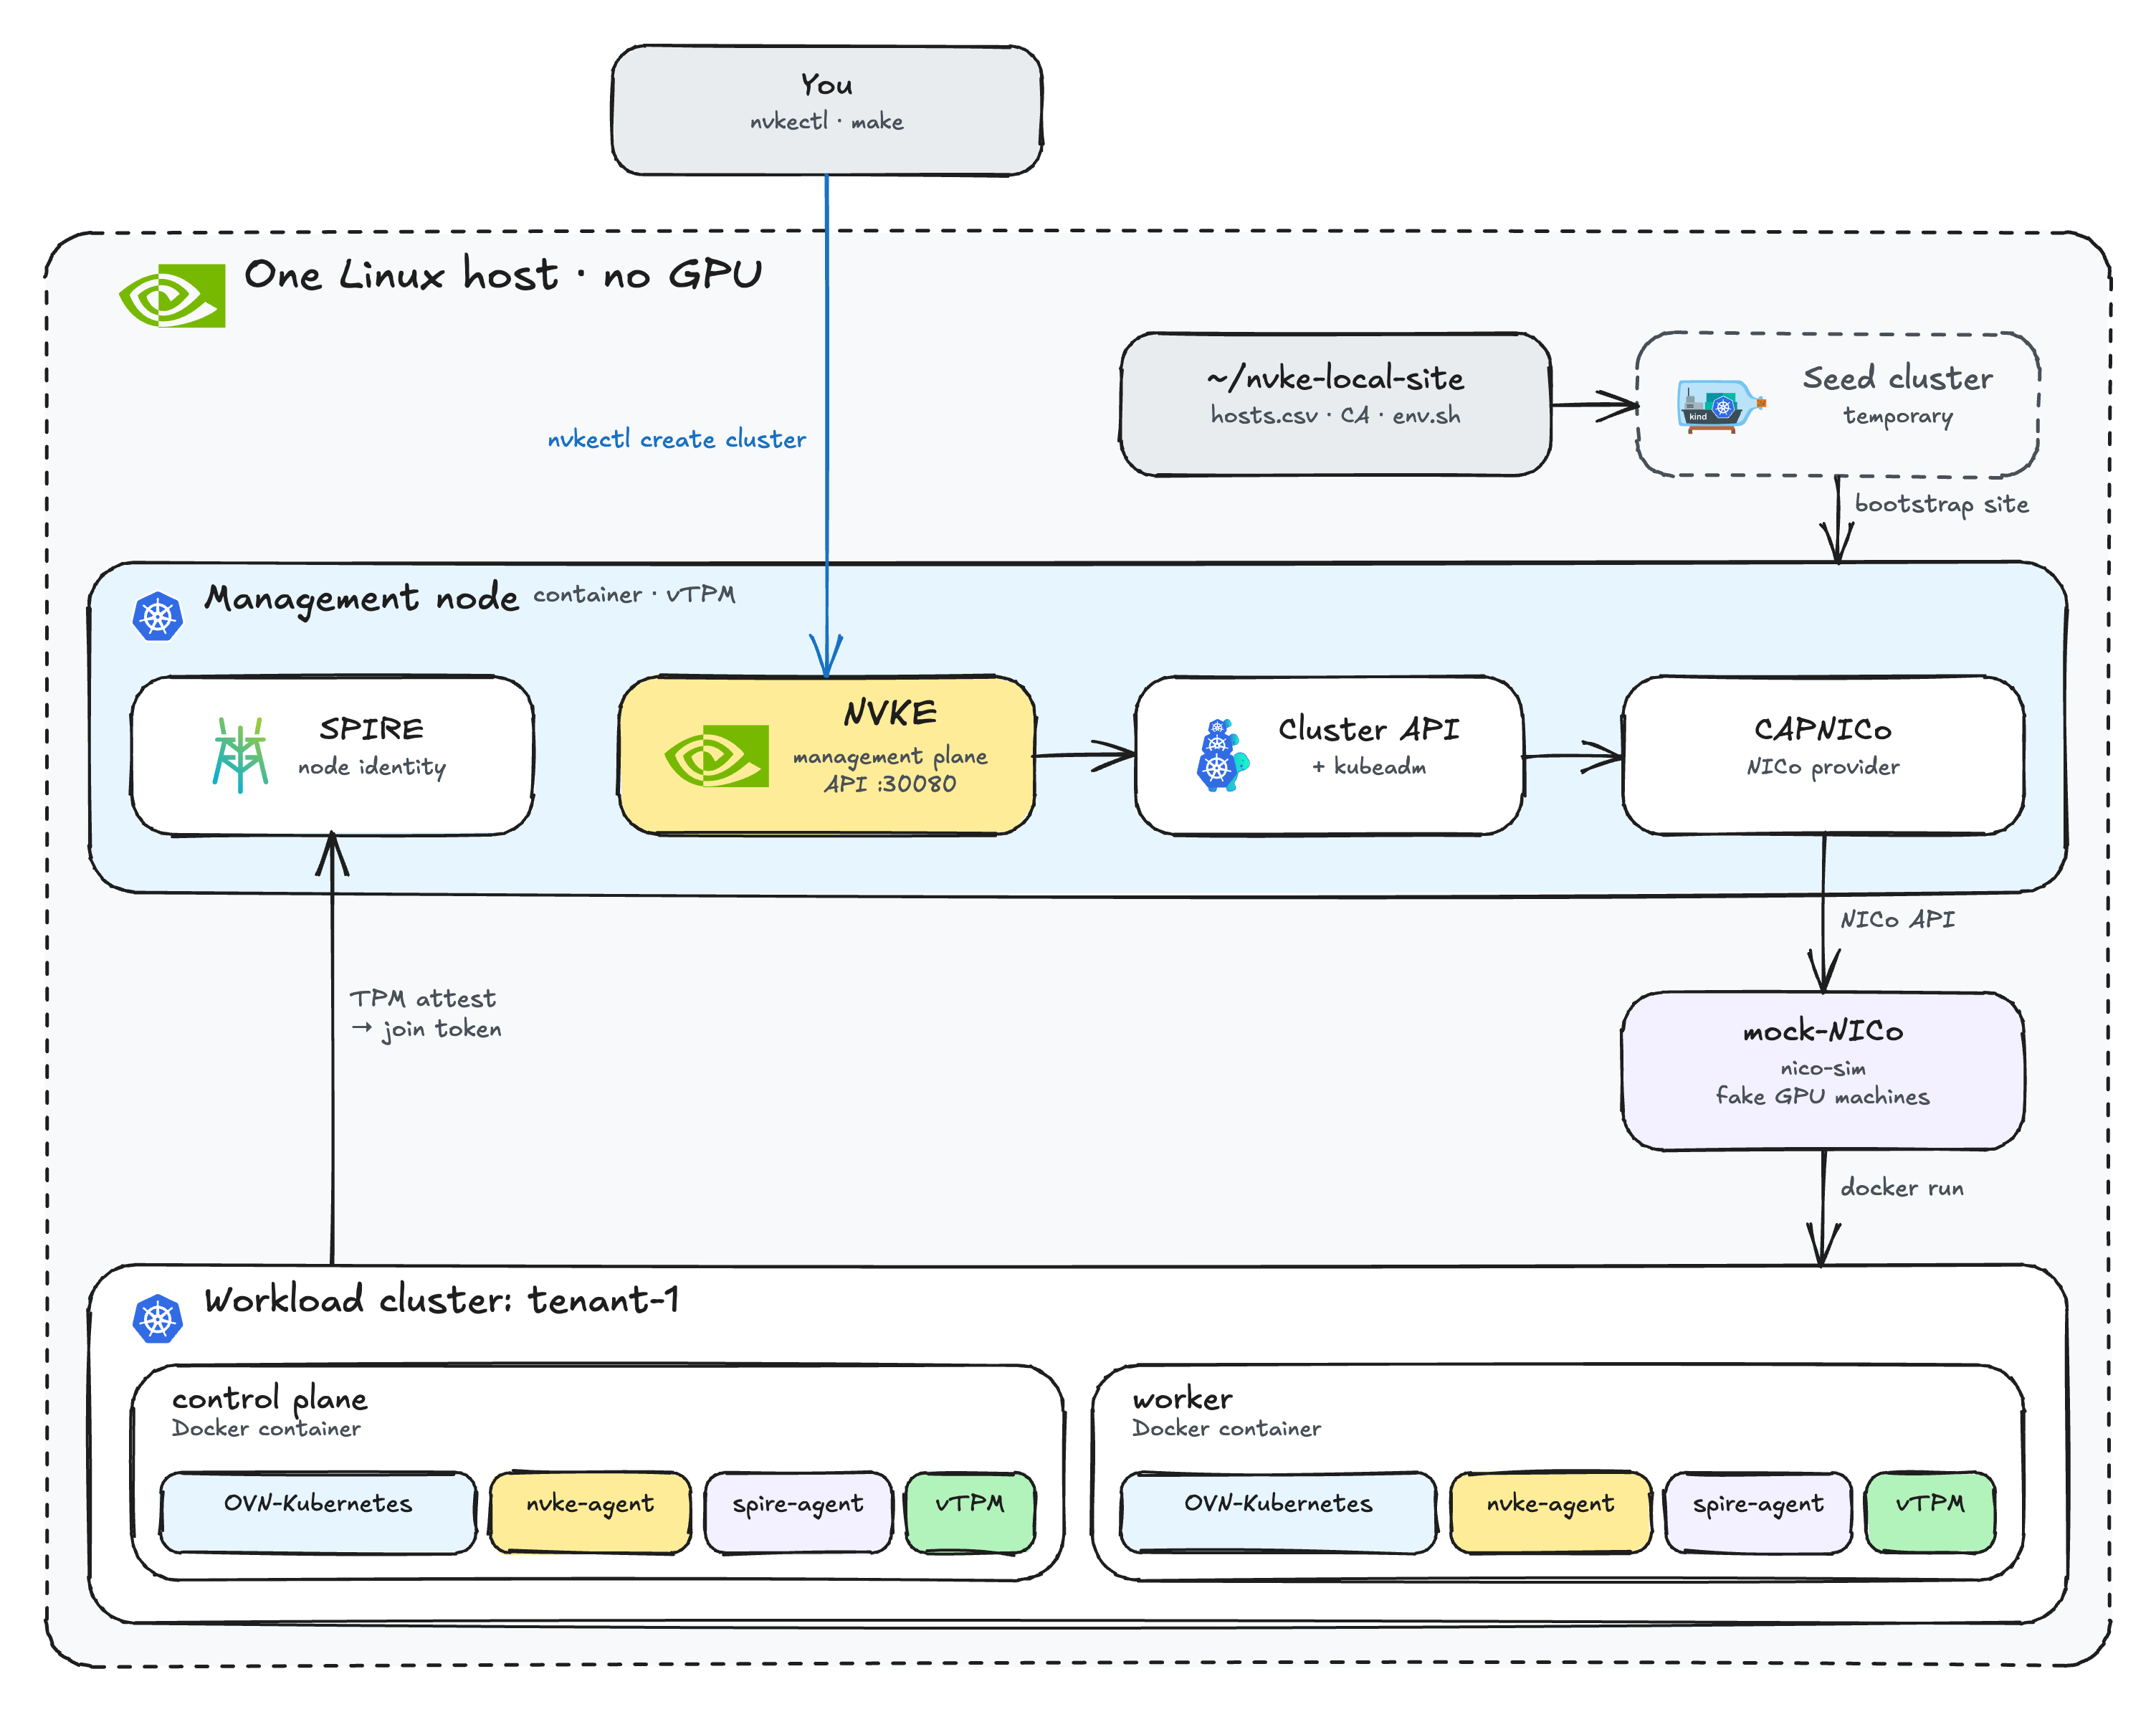
nvkectl: the CLI you use to talk to NVKE.- NVKE: turns a cluster request into Cluster API objects and runs each step as a Temporal workflow.
- Cluster API + CAPNICo: ask NICo for machines. mock-NICo answers by starting containers.
- SPIRE: each node proves its identity with a TPM before it can join. The simulated nodes get a software TPM.
The machine#
I used an Ubuntu 24.04 VM with 16 vCPUs, 32 GB of RAM and a 250 GB disk. You need at least 10 CPUs, 24 GiB of free memory and 100 GiB of free disk.
Step 1: Tools#
| Tool | Version |
|---|---|
| Go | 1.27.3+ |
| GNU Make | 4.3+ |
| Docker | with BuildKit, usable without sudo |
| kind | v0.32.0 |
| Helm | v4.2.4 |
| clusterctl | v1.13.6 |
| kubectl | v1.36.0 |
| oras | 1.3.3 |
| Others | git, gcc, curl, jq, python3, openssl, iptables, nc, dpkg-dev |
Put them all on your PATH; the setup refuses to start if any is missing.
Step 2: Clone#
git clone https://github.com/dsx-ai-factory/nvke.git
No make build needed. The setup builds everything it uses.
Step 3: Prepare the host#
Run everything from here as root.
sudo -i
cd /path/to/nvke
make -C controller host-up
host-up loads the kernel module behind the nodes’ software TPMs.
Raise the inotify limits. All node containers share the host kernel, and Ubuntu’s default runs out once the tenant nodes start:
cat > /etc/sysctl.d/99-inotify.conf <<'EOF'
fs.inotify.max_user_instances = 8192
fs.inotify.max_user_watches = 524288
EOF
sysctl --system
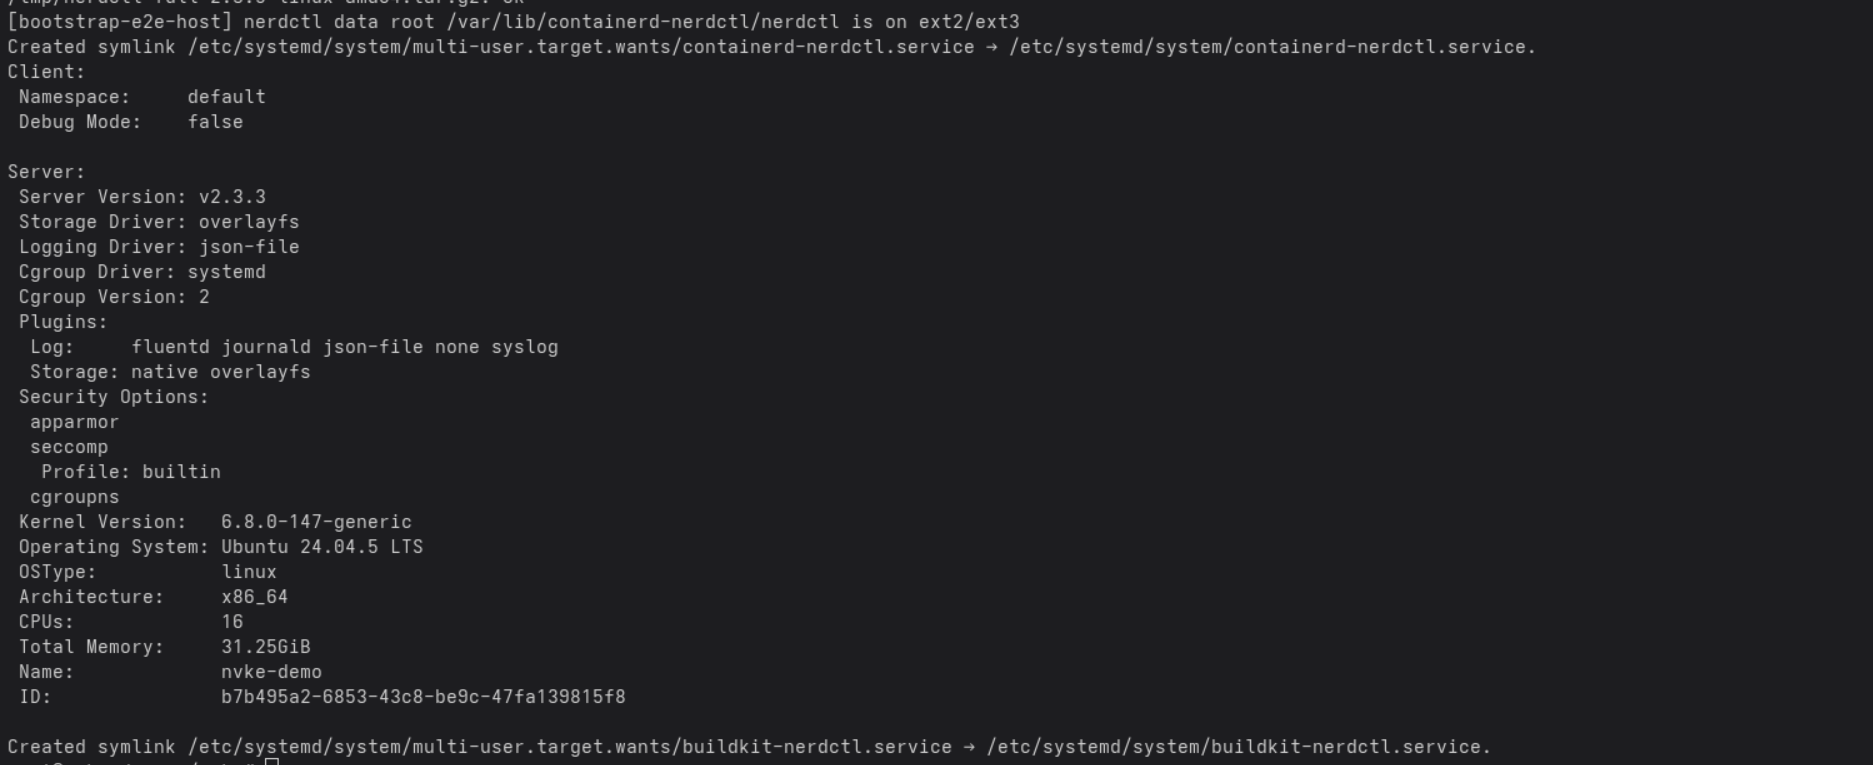
Install the container runtime the management node uses (containerd, nerdctl and buildkitd, separate from Docker):
export NERDCTL_VERSION="$(make --no-print-directory print-NERDCTL_VERSION)" \
  NERDCTL_FULL_SHA256_AMD64="$(make --no-print-directory print-NERDCTL_FULL_SHA256_AMD64)" \
  NERDCTL_FULL_SHA256_ARM64="$(make --no-print-directory print-NERDCTL_FULL_SHA256_ARM64)"
export CONTAINERD_ADDRESS=/run/containerd-nerdctl/containerd.sock \
  BUILDKIT_HOST=unix:///run/buildkit-nerdctl/buildkitd.sock \
  CONTAINERD_NAMESPACE=default
cli/hack/bootstrap-e2e-host.sh install-runtime
It downloads ~270 MB silently, so it may look stuck. It is not.
Step 4: Set up the local site#
make local-site-setup
source ~/nvke-local-site/env.sh
This builds the images, starts the management node as a container, starts mock-NICo, and writes a workspace to ~/nvke-local-site.
Source env.sh in every new shell. It puts nvkectl on your PATH.
Step 5: Bootstrap the management cluster#
cd ~/nvke-local-site
nvkectl generate sitespec local-site --nodes hosts.csv \
  --set cluster.k8sVersion=1.36.4 \
  --set cluster.podCidr=10.244.0.0/16 \
  --set cluster.kubeletConfig.systemReservedMemory=512Mi \
  --set spire.upstreamCA=true > sitespec.yaml

# raise the Helm/readiness timeouts (default 5m is too short for the image pulls)
export NVKECTL_NVKE_CONTROLLER_HELM_TIMEOUT=20m
export NVKECTL_NVKE_CONTROLLER_READY_TIMEOUT=20m

nvkectl bootstrap site -f sitespec.yaml --timeout 90m
Use the k8sVersion that make local-site-setup prints.
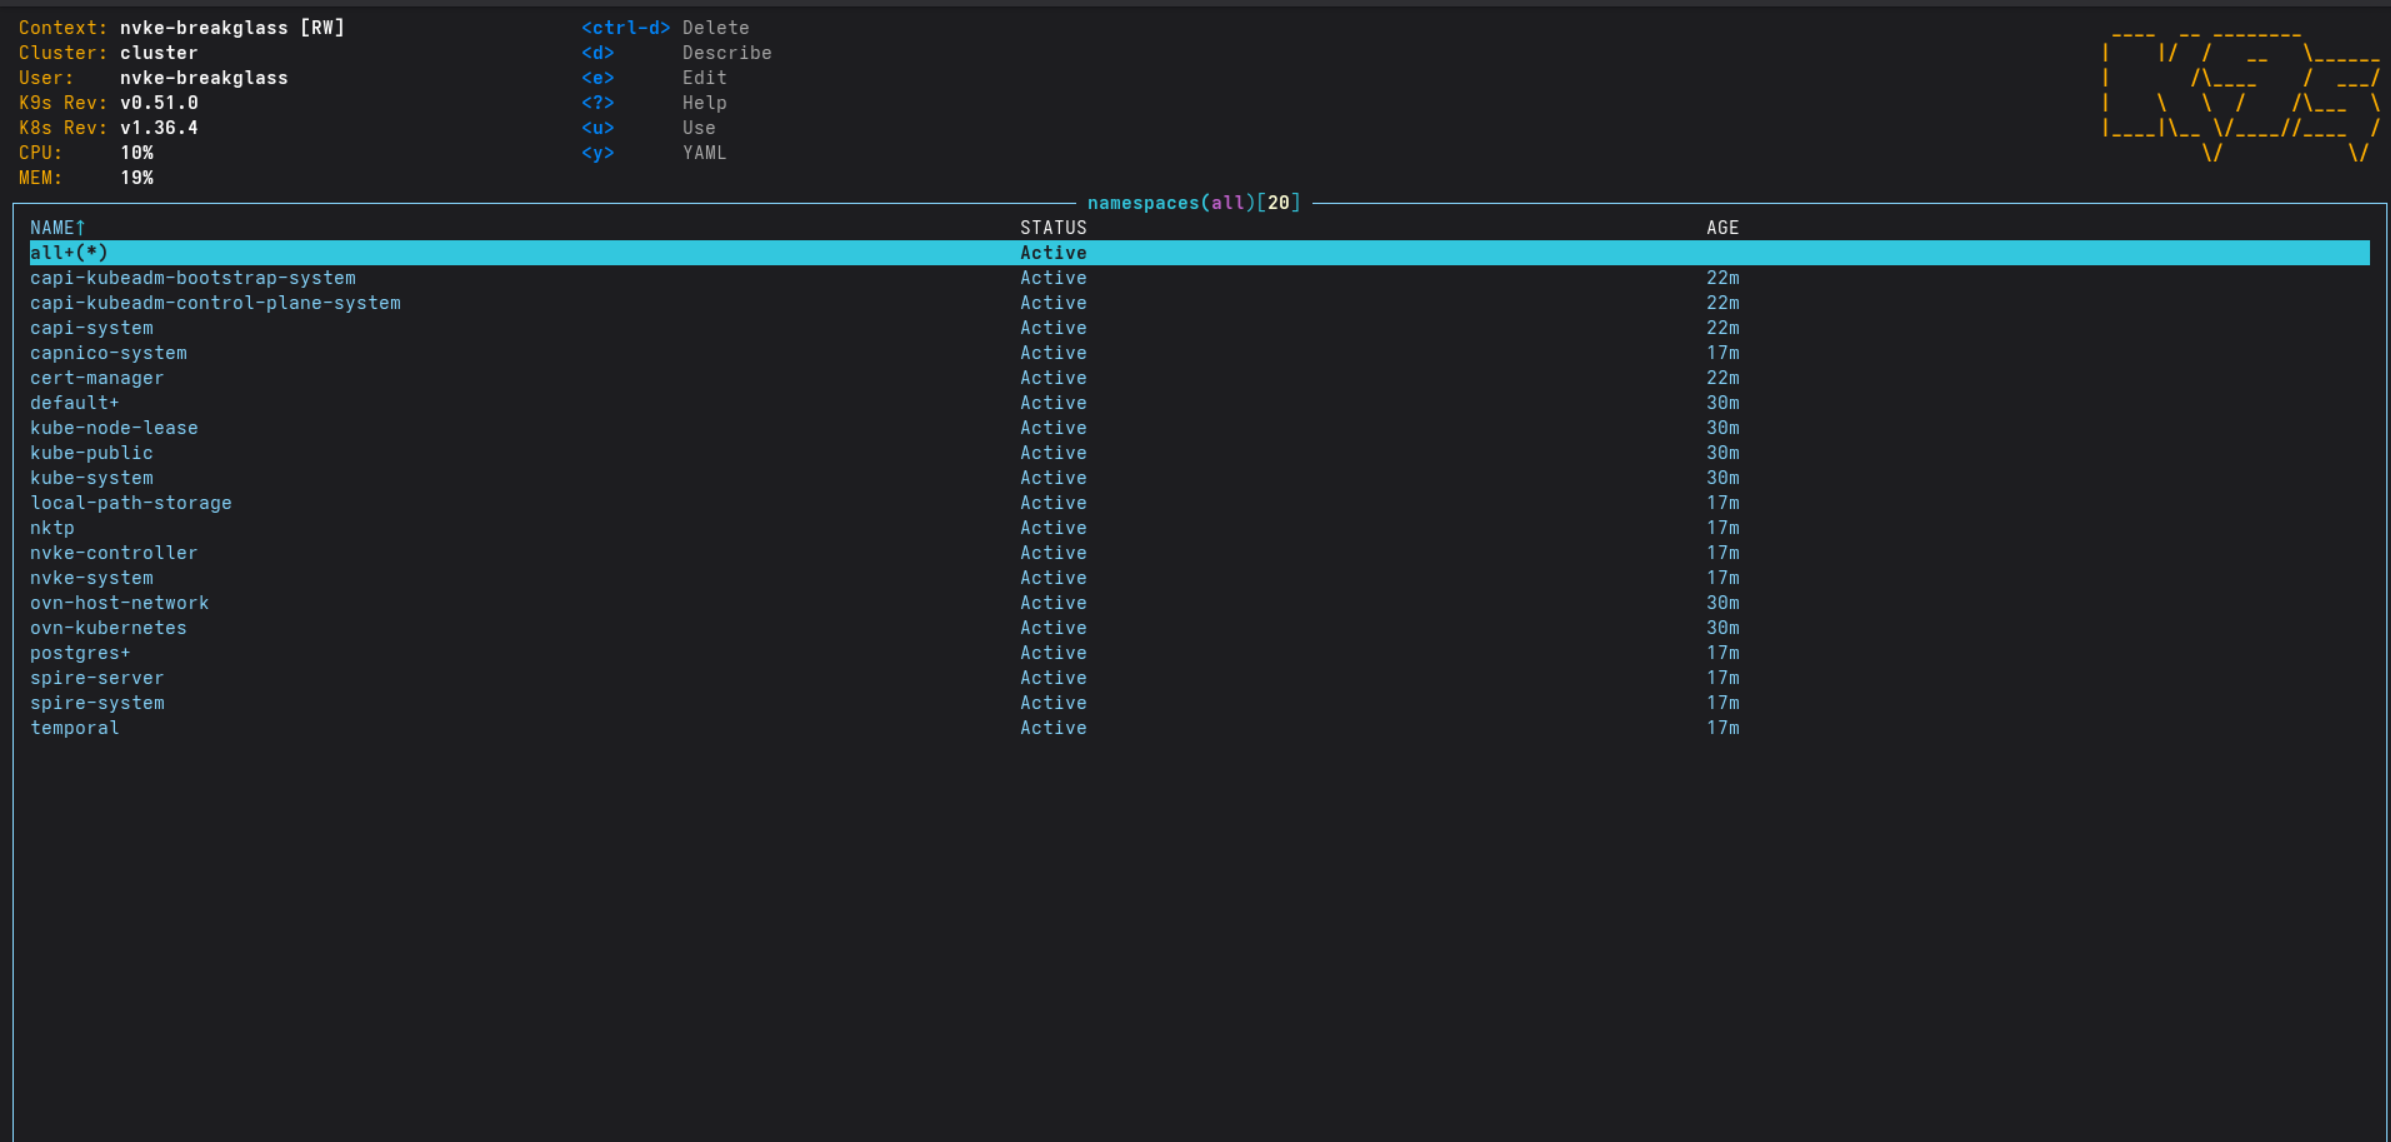
How it works: nvkectl first starts a temporary seed cluster with kind and runs the NVKE stack in it:
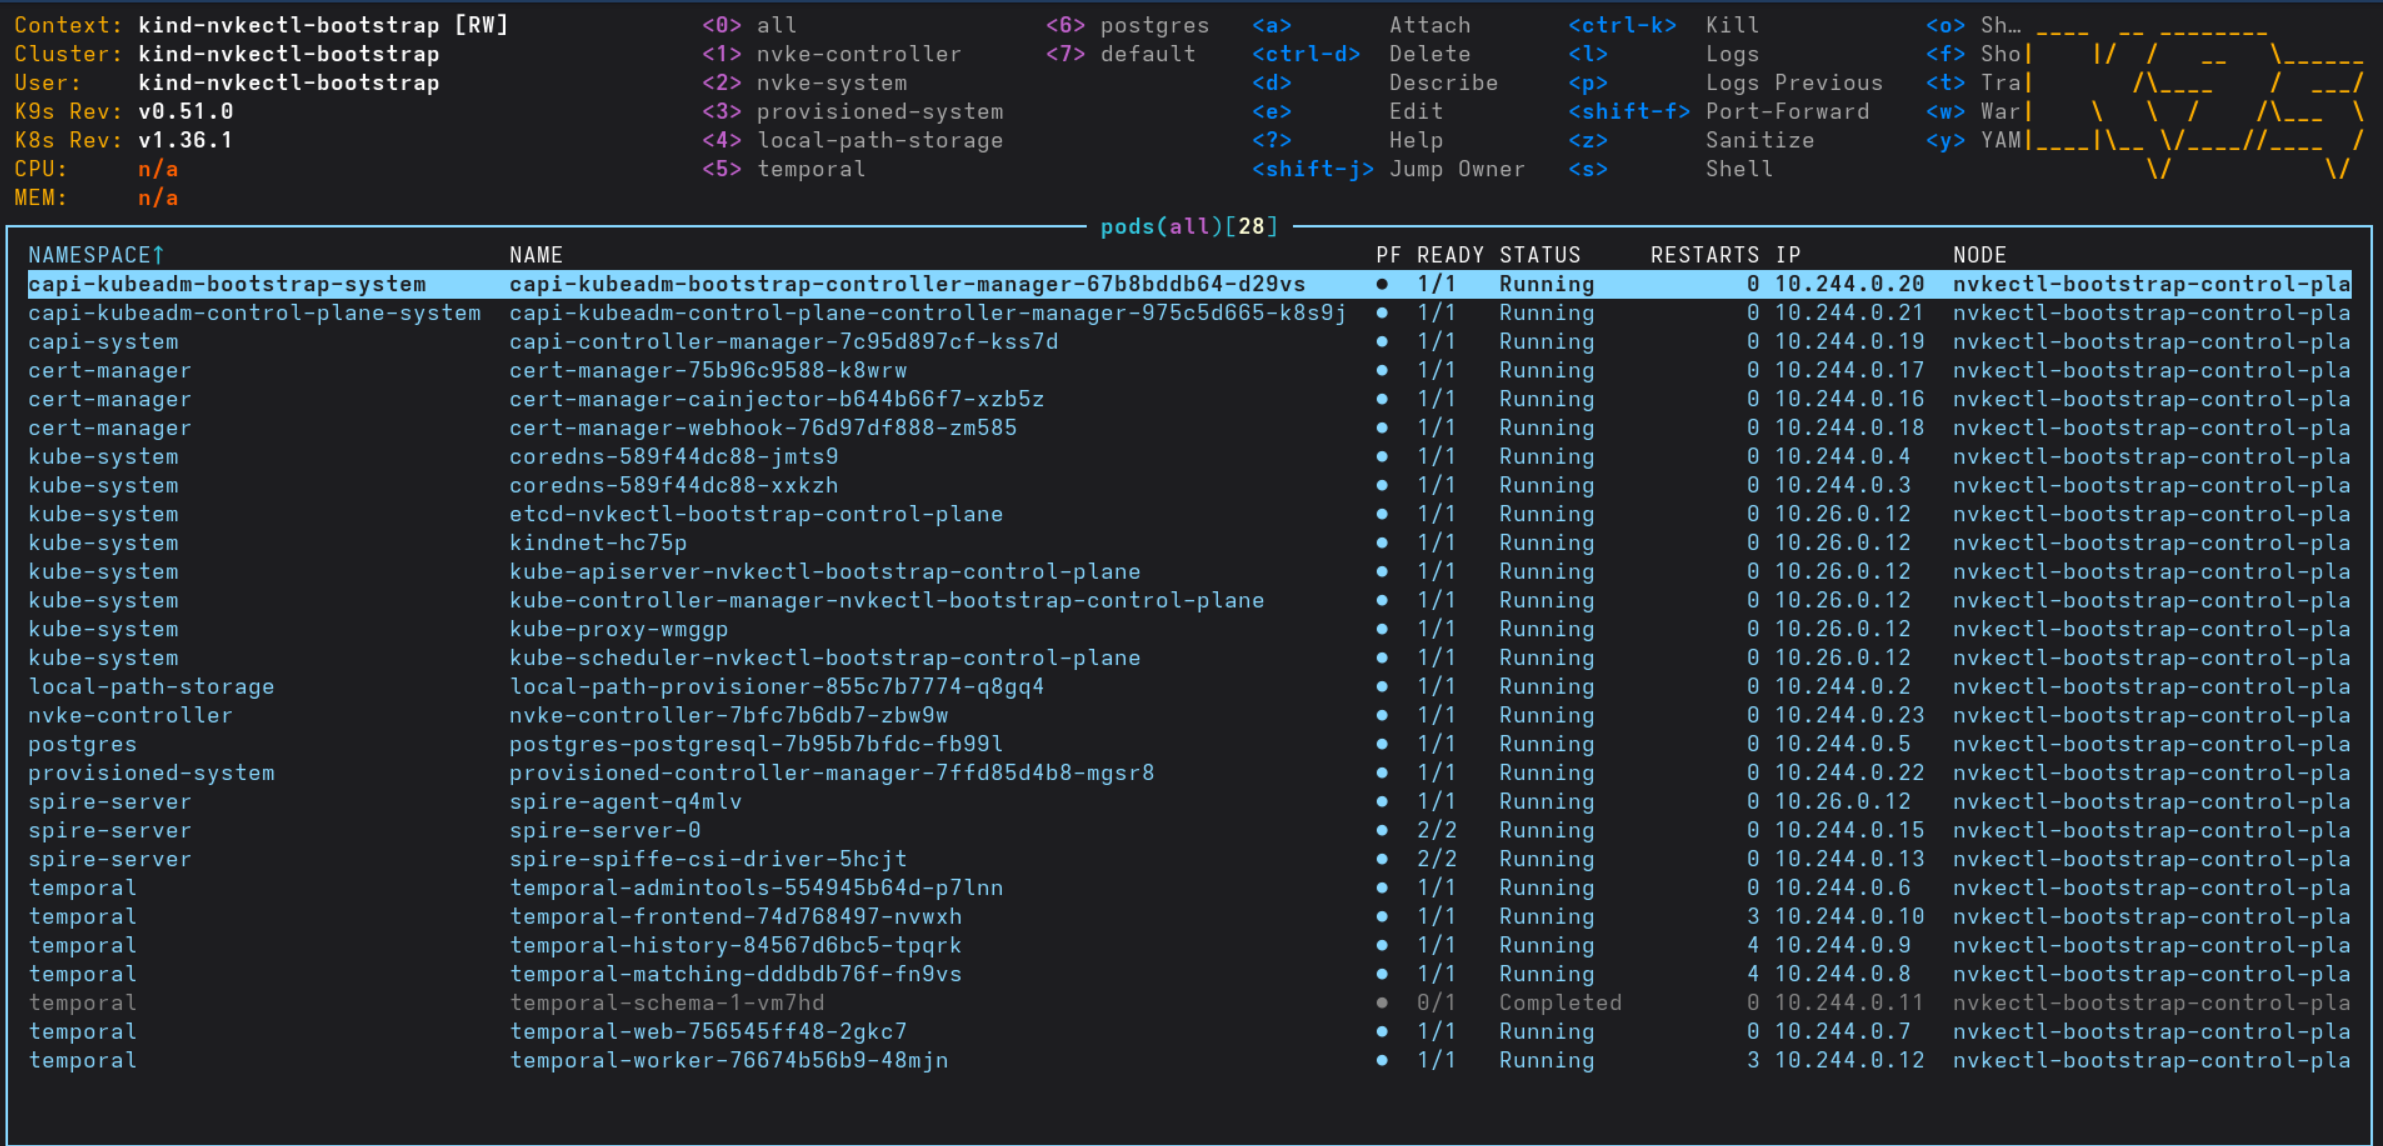
That seed builds the real management cluster on the node, writes local-site.kubeconfig, then deletes itself. Its only job is to build the real one.
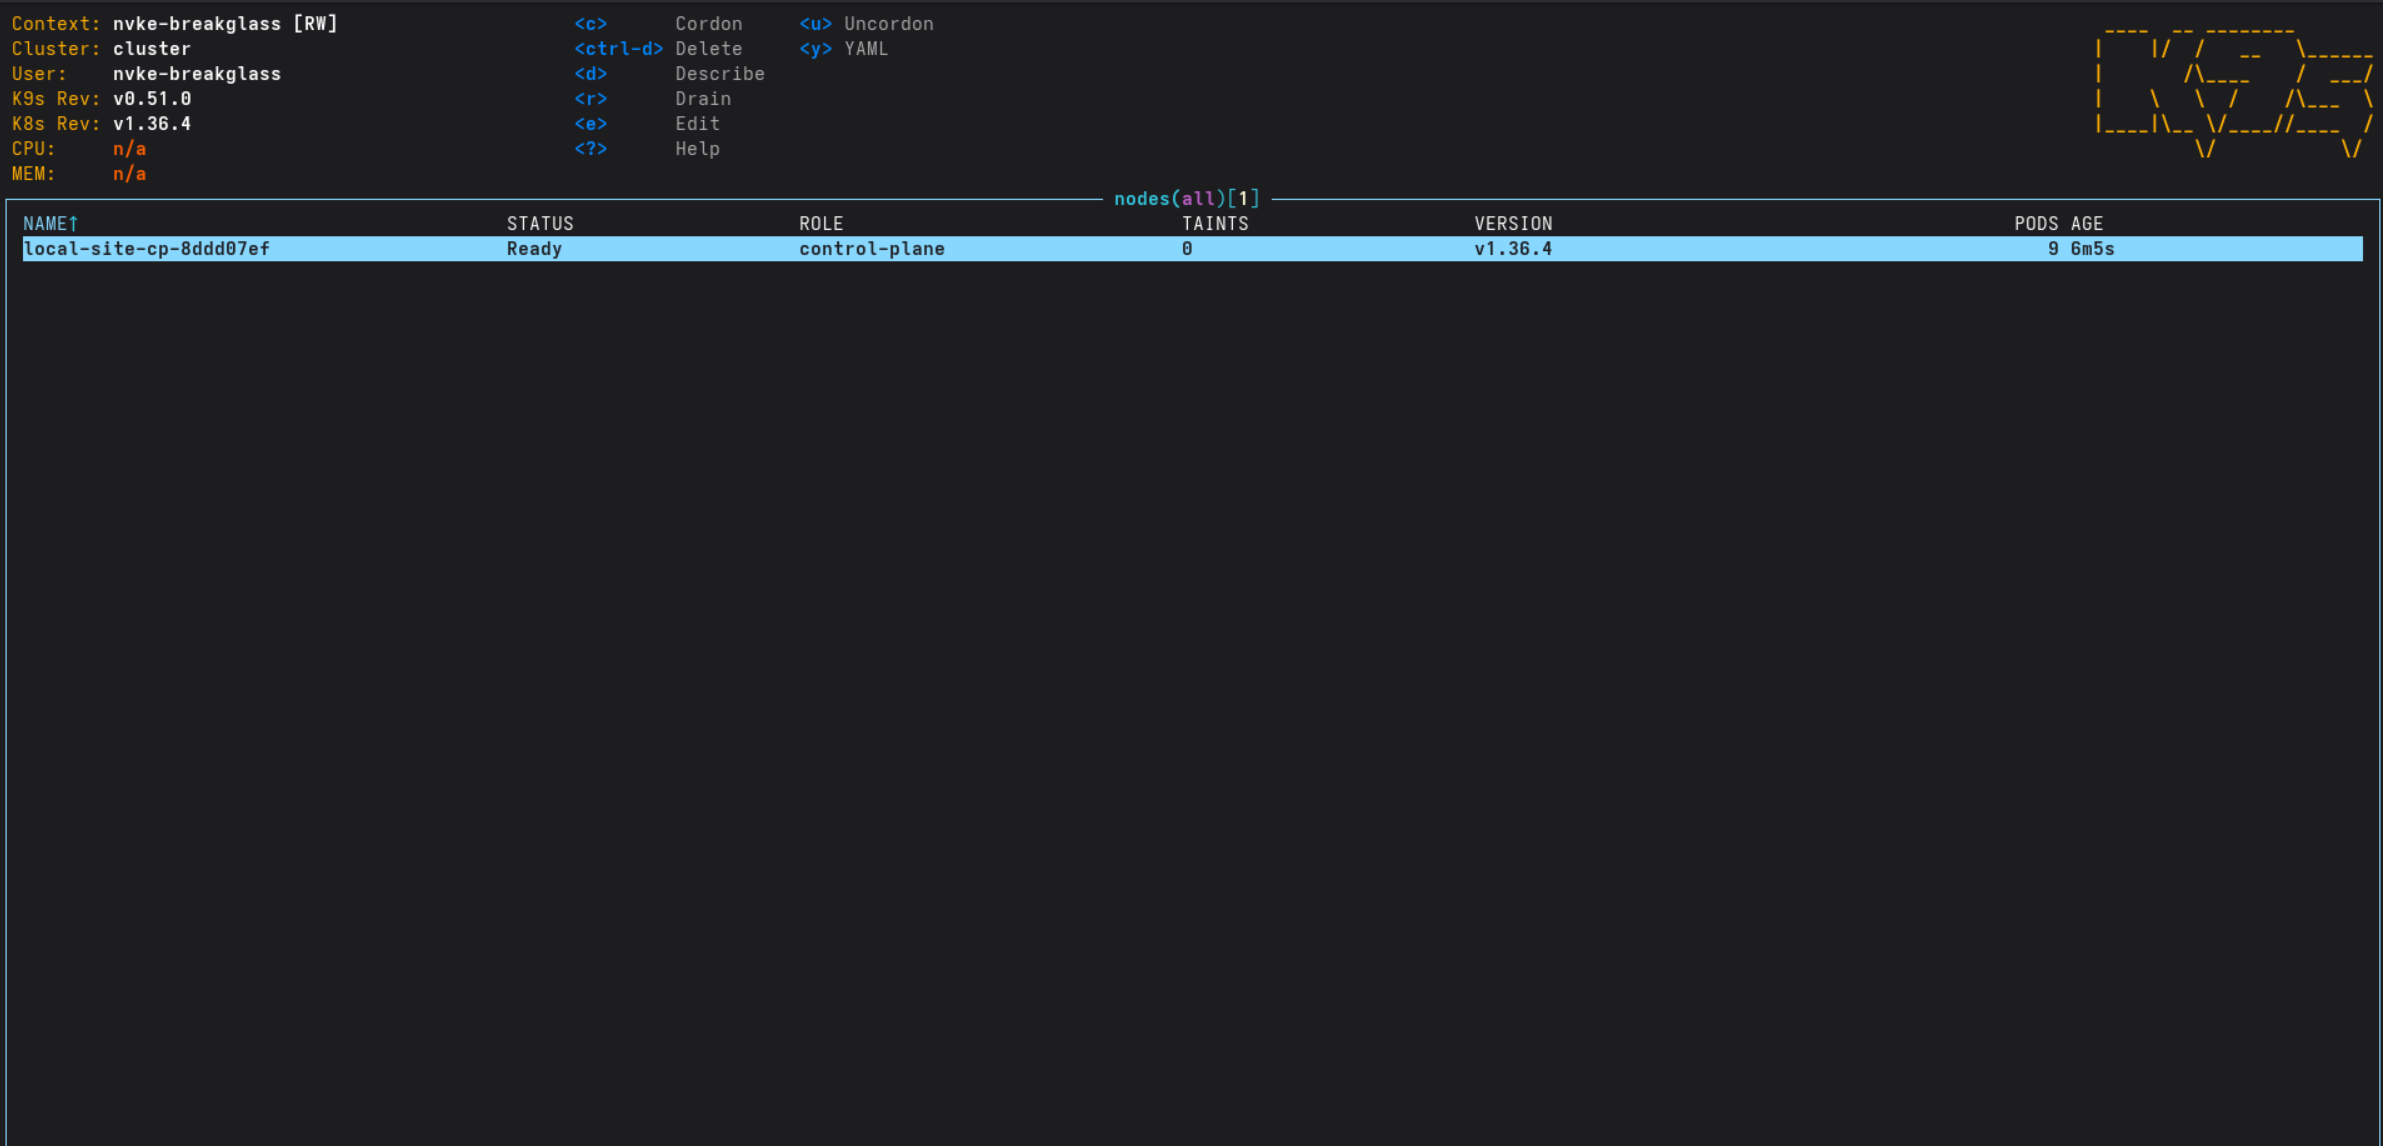
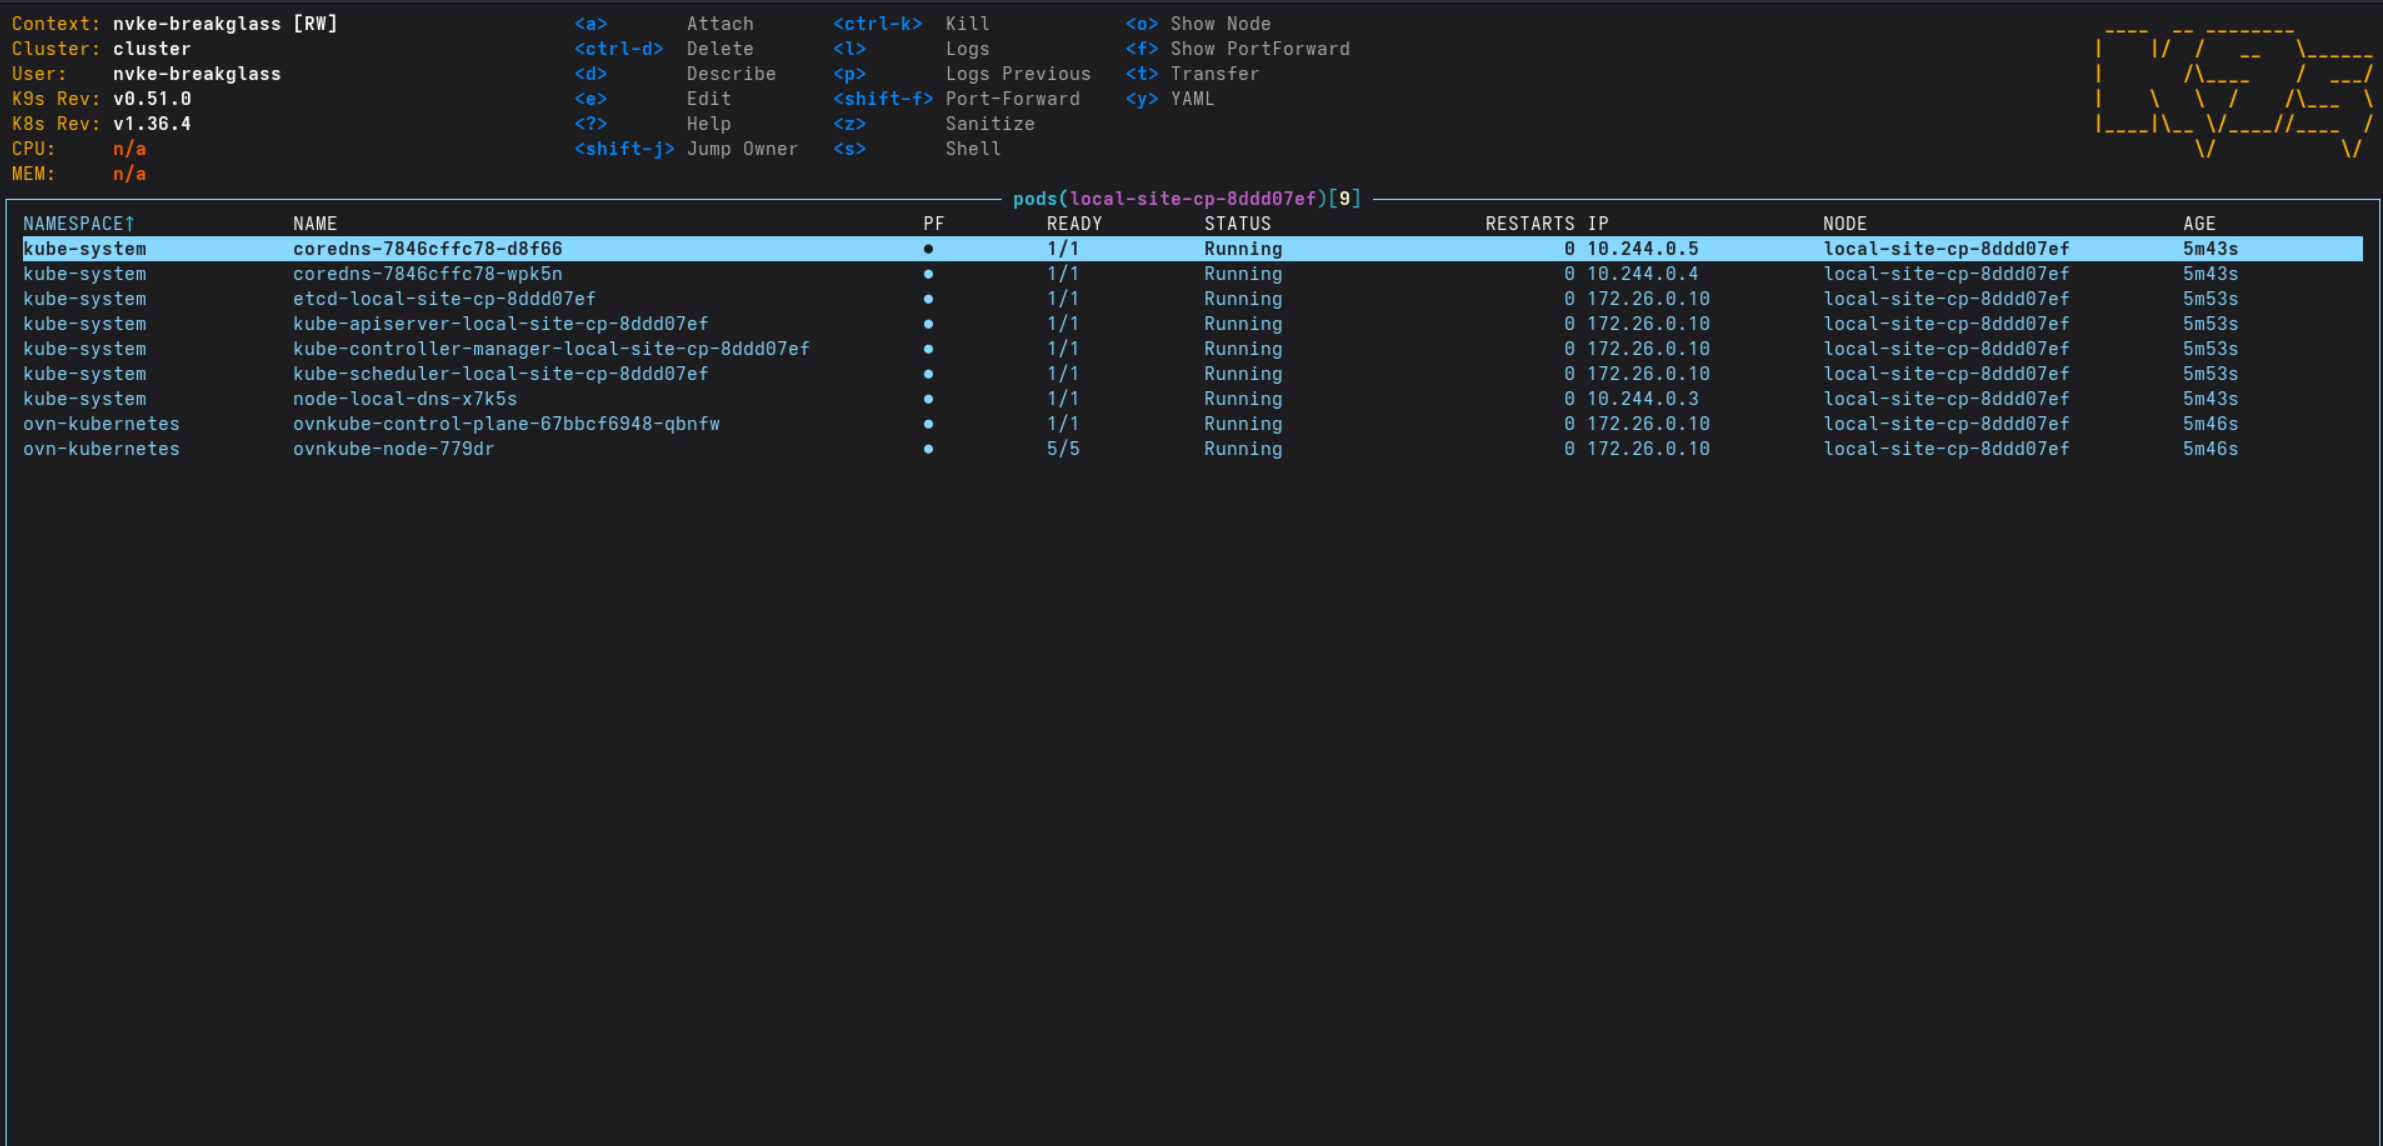
If it fails, check the gotchas below.
Step 6: Install NVKE#
Install Cluster API:
clusterctl init --kubeconfig local-site.kubeconfig \
  --core cluster-api:v1.13.6 --bootstrap kubeadm:v1.13.6 \
  --control-plane kubeadm:v1.13.6 --wait-providers
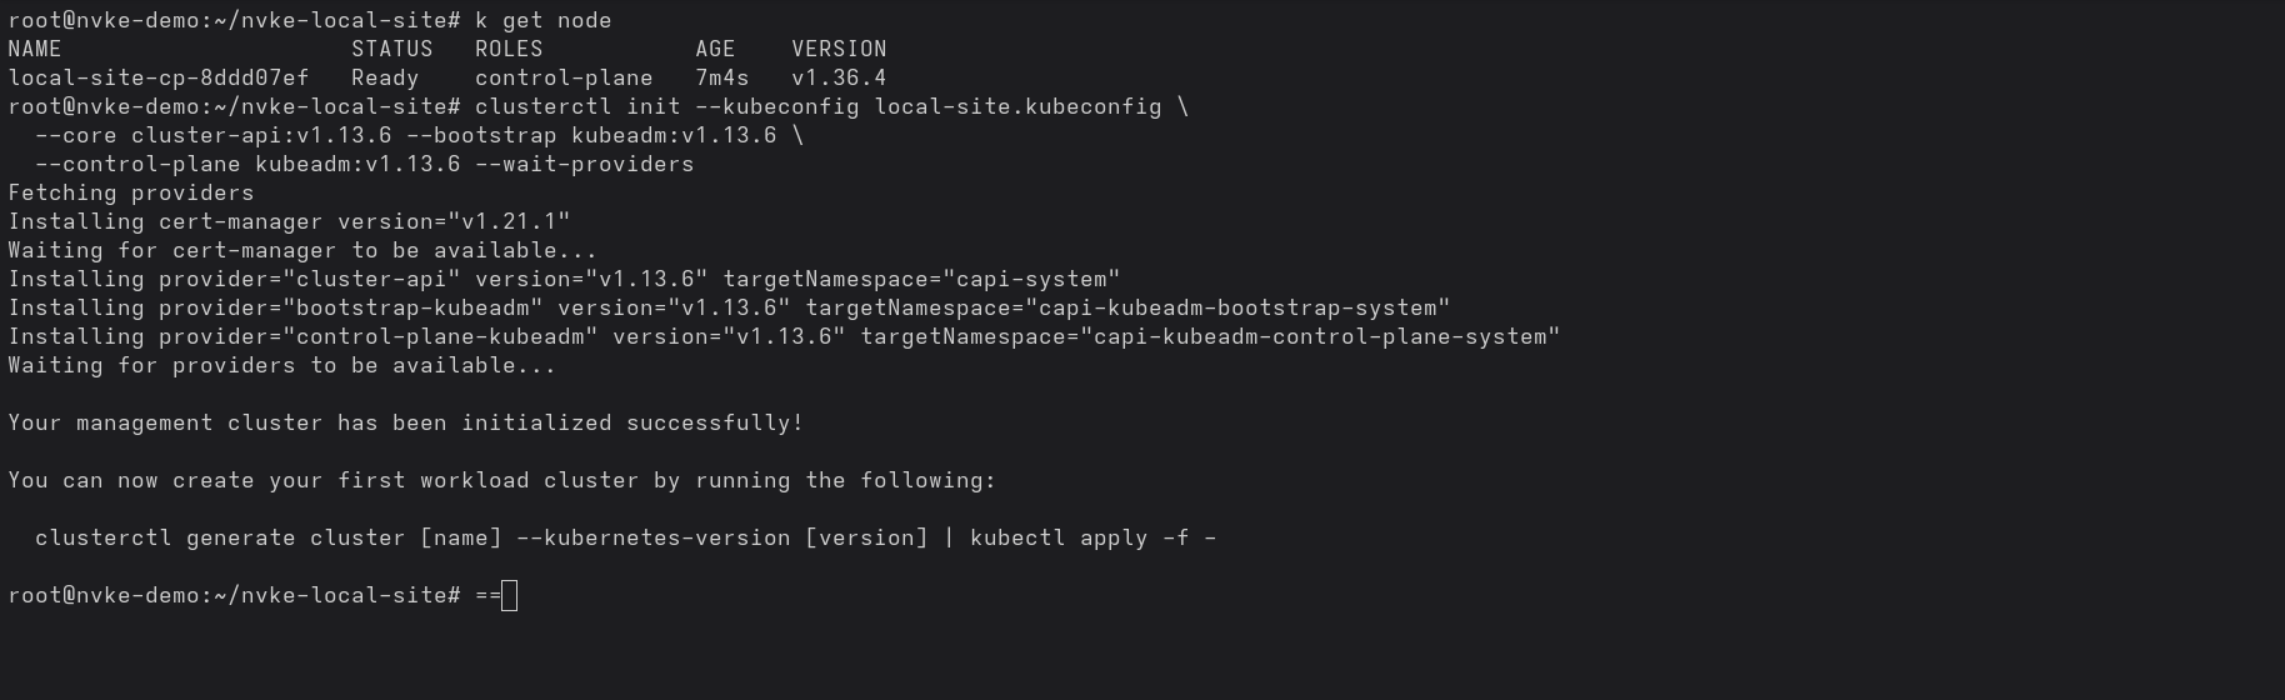
Install NVKE and point nvkectl at it:
"$NVKE_REPO"/deploy/nvke-deploy-local.sh install

kubectl --kubeconfig local-site.kubeconfig apply -f nvke-api-clients.yaml
nvkectl config set-site --name local-site \
  --url http://172.26.0.10:30080 --kubeconfig "$PWD/local-site.kubeconfig"
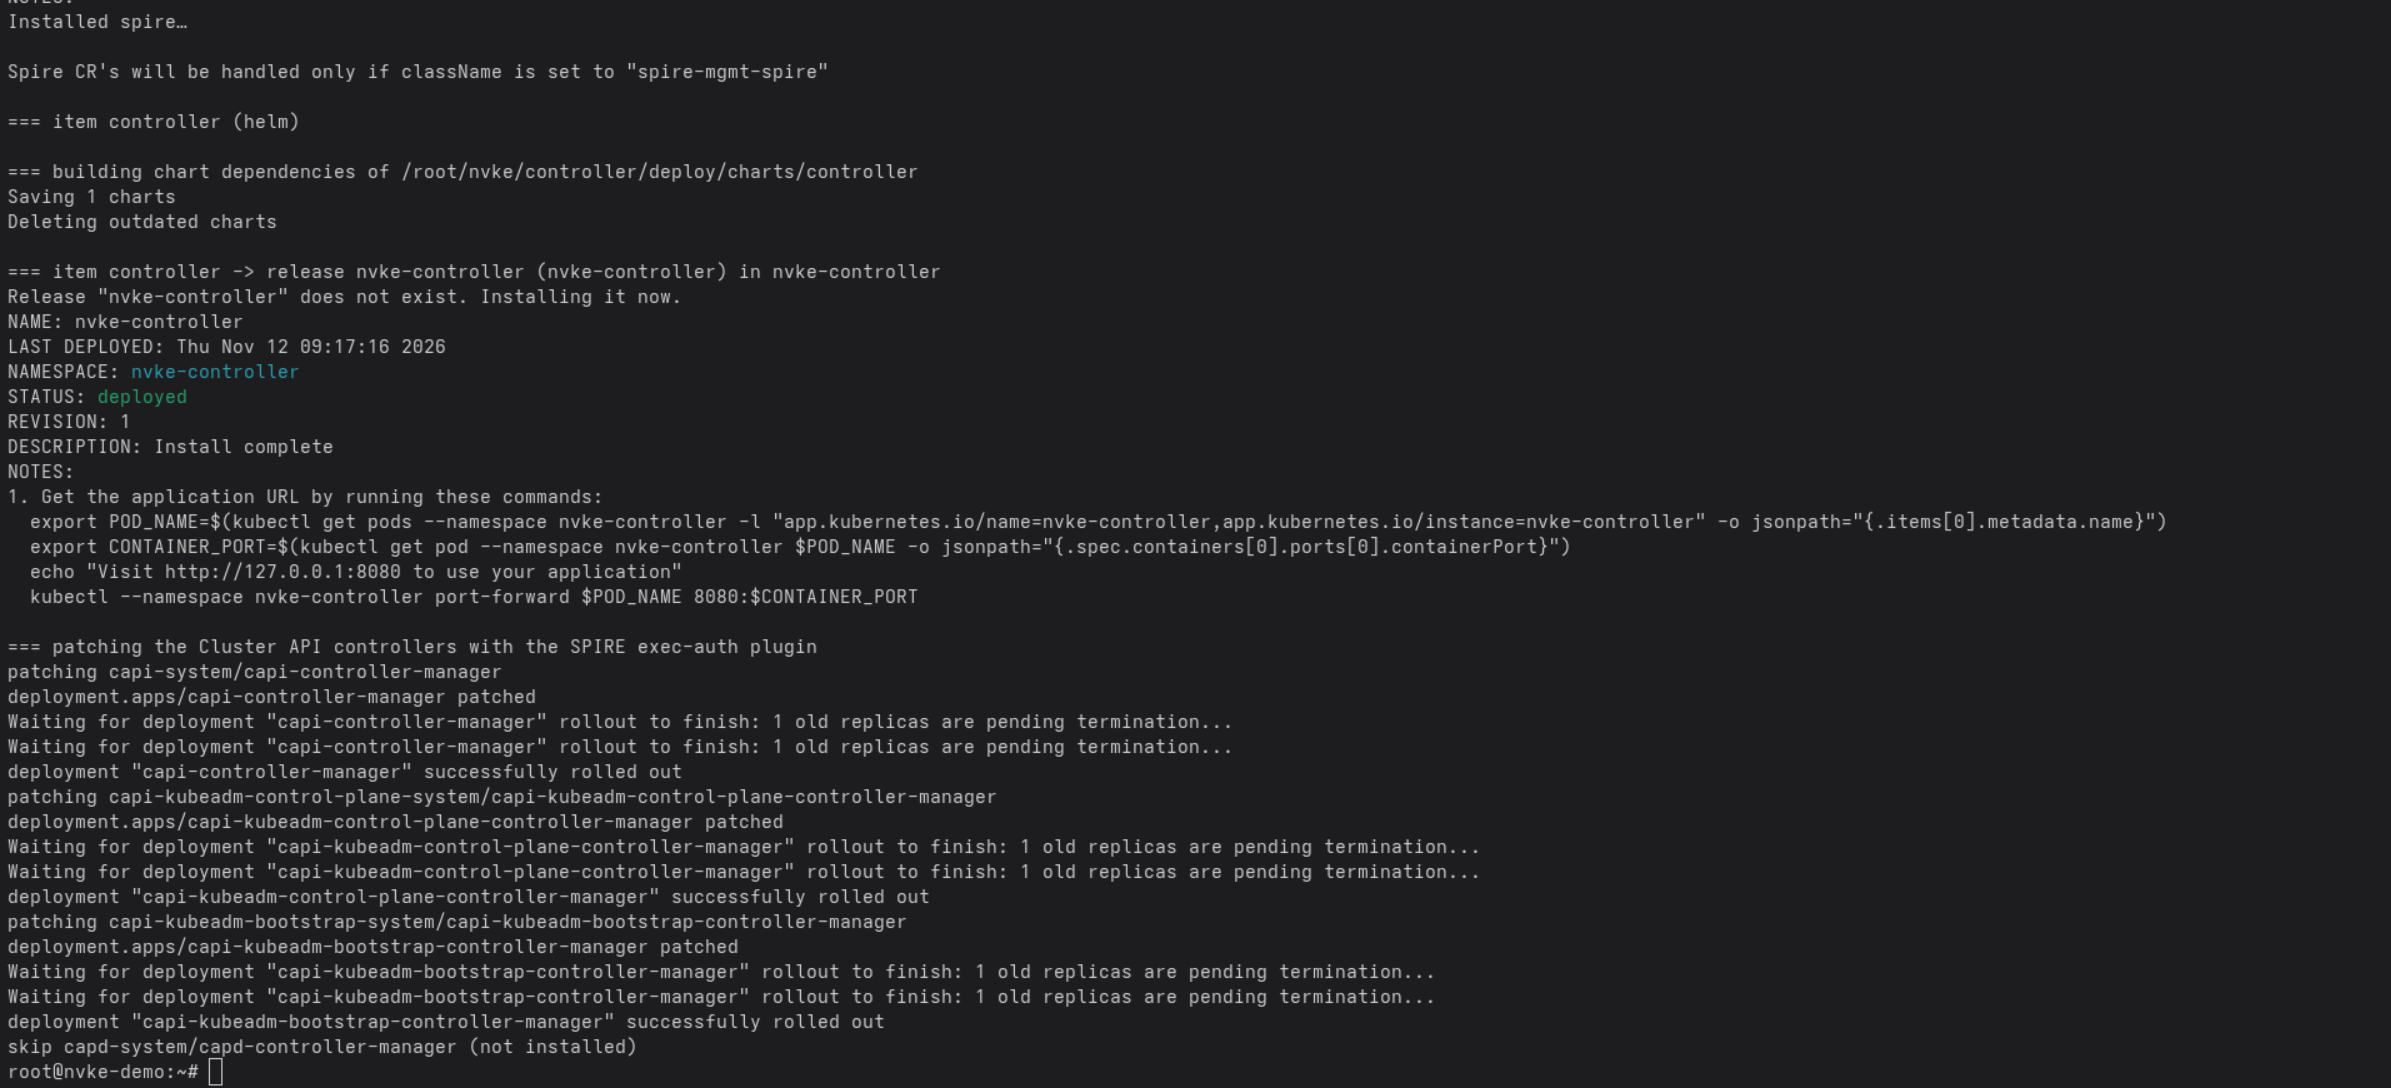
Publish the release set: the OS image and Kubernetes versions that tenant nodes boot with.
nvkectl create machineimage    -f releases/machineimage.yaml
nvkectl create clusterrelease  -f releases/clusterrelease.yaml
nvkectl create nodepoolrelease -f releases/nodepoolrelease.yaml

Step 7: Create a tenant cluster#
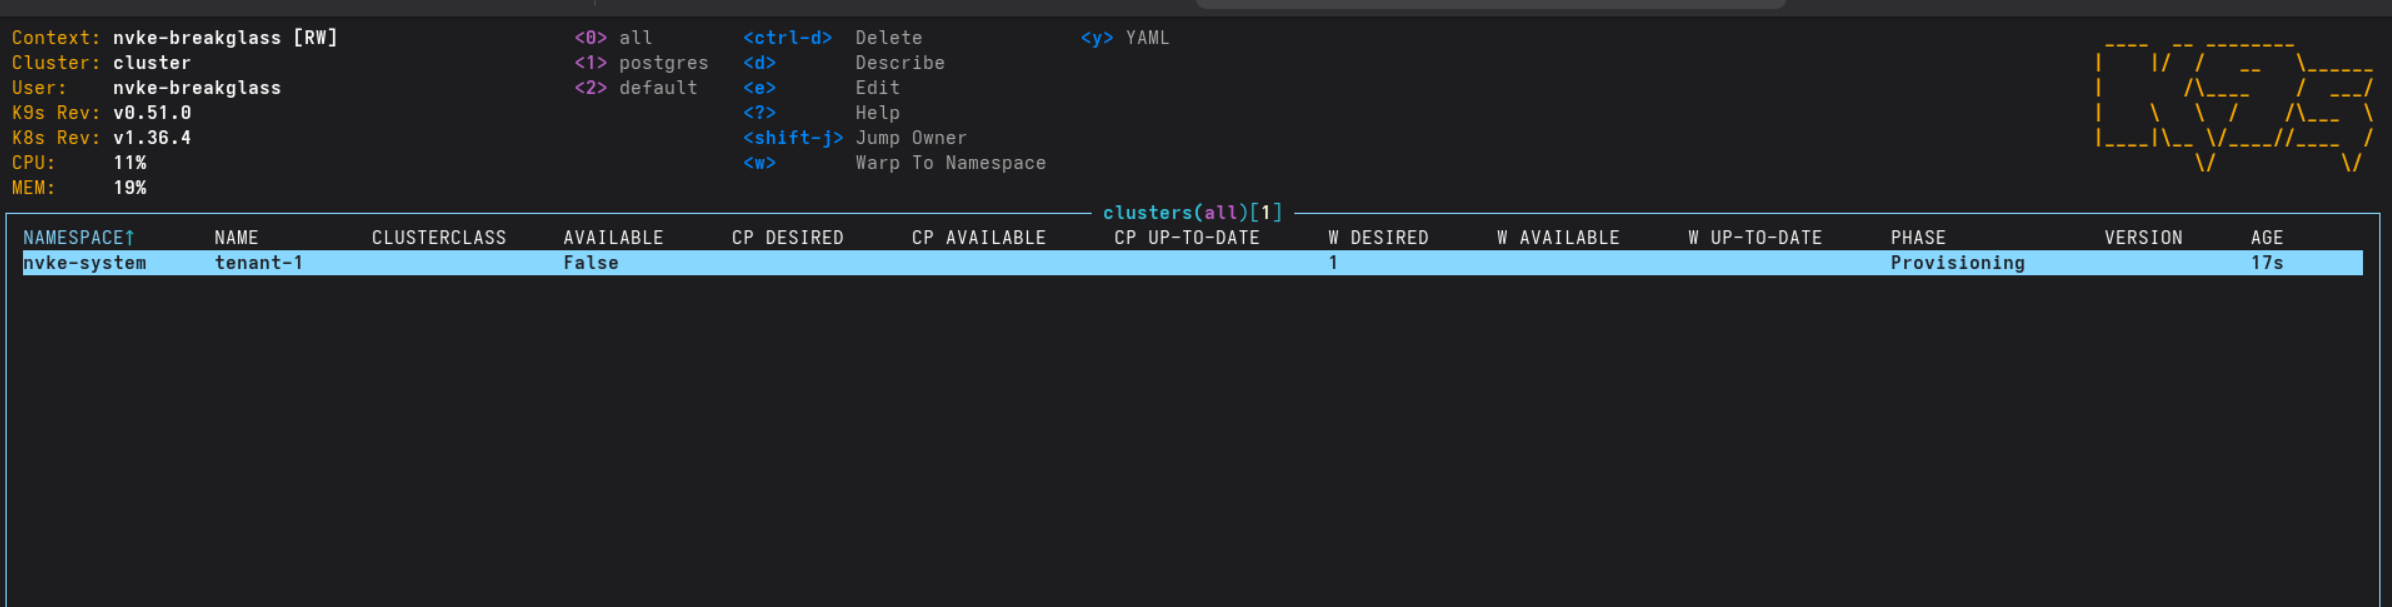
nvkectl create cluster -f tenant.yaml
nvkectl get clusters        # Provisioning → Provisioned
NVKE creates a Cluster API cluster with two machines:
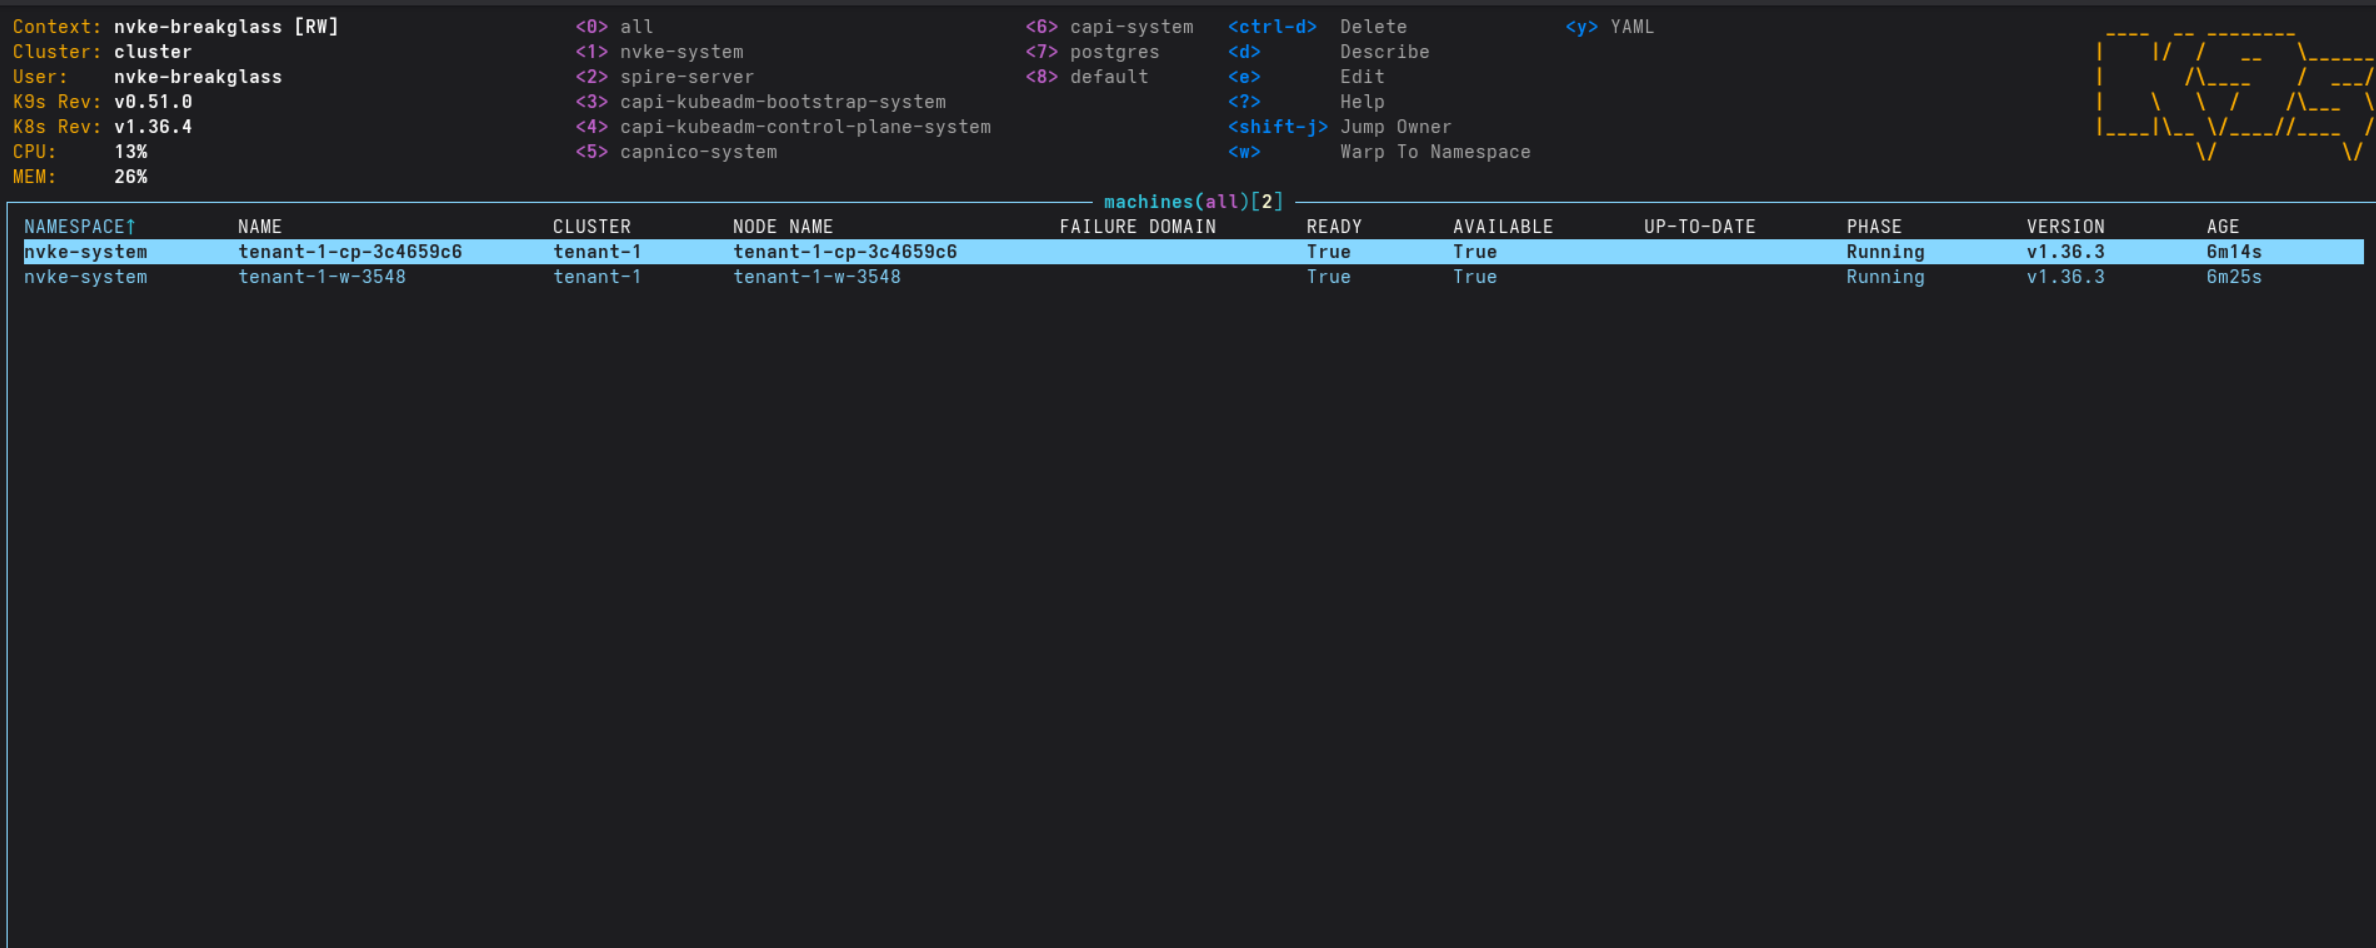
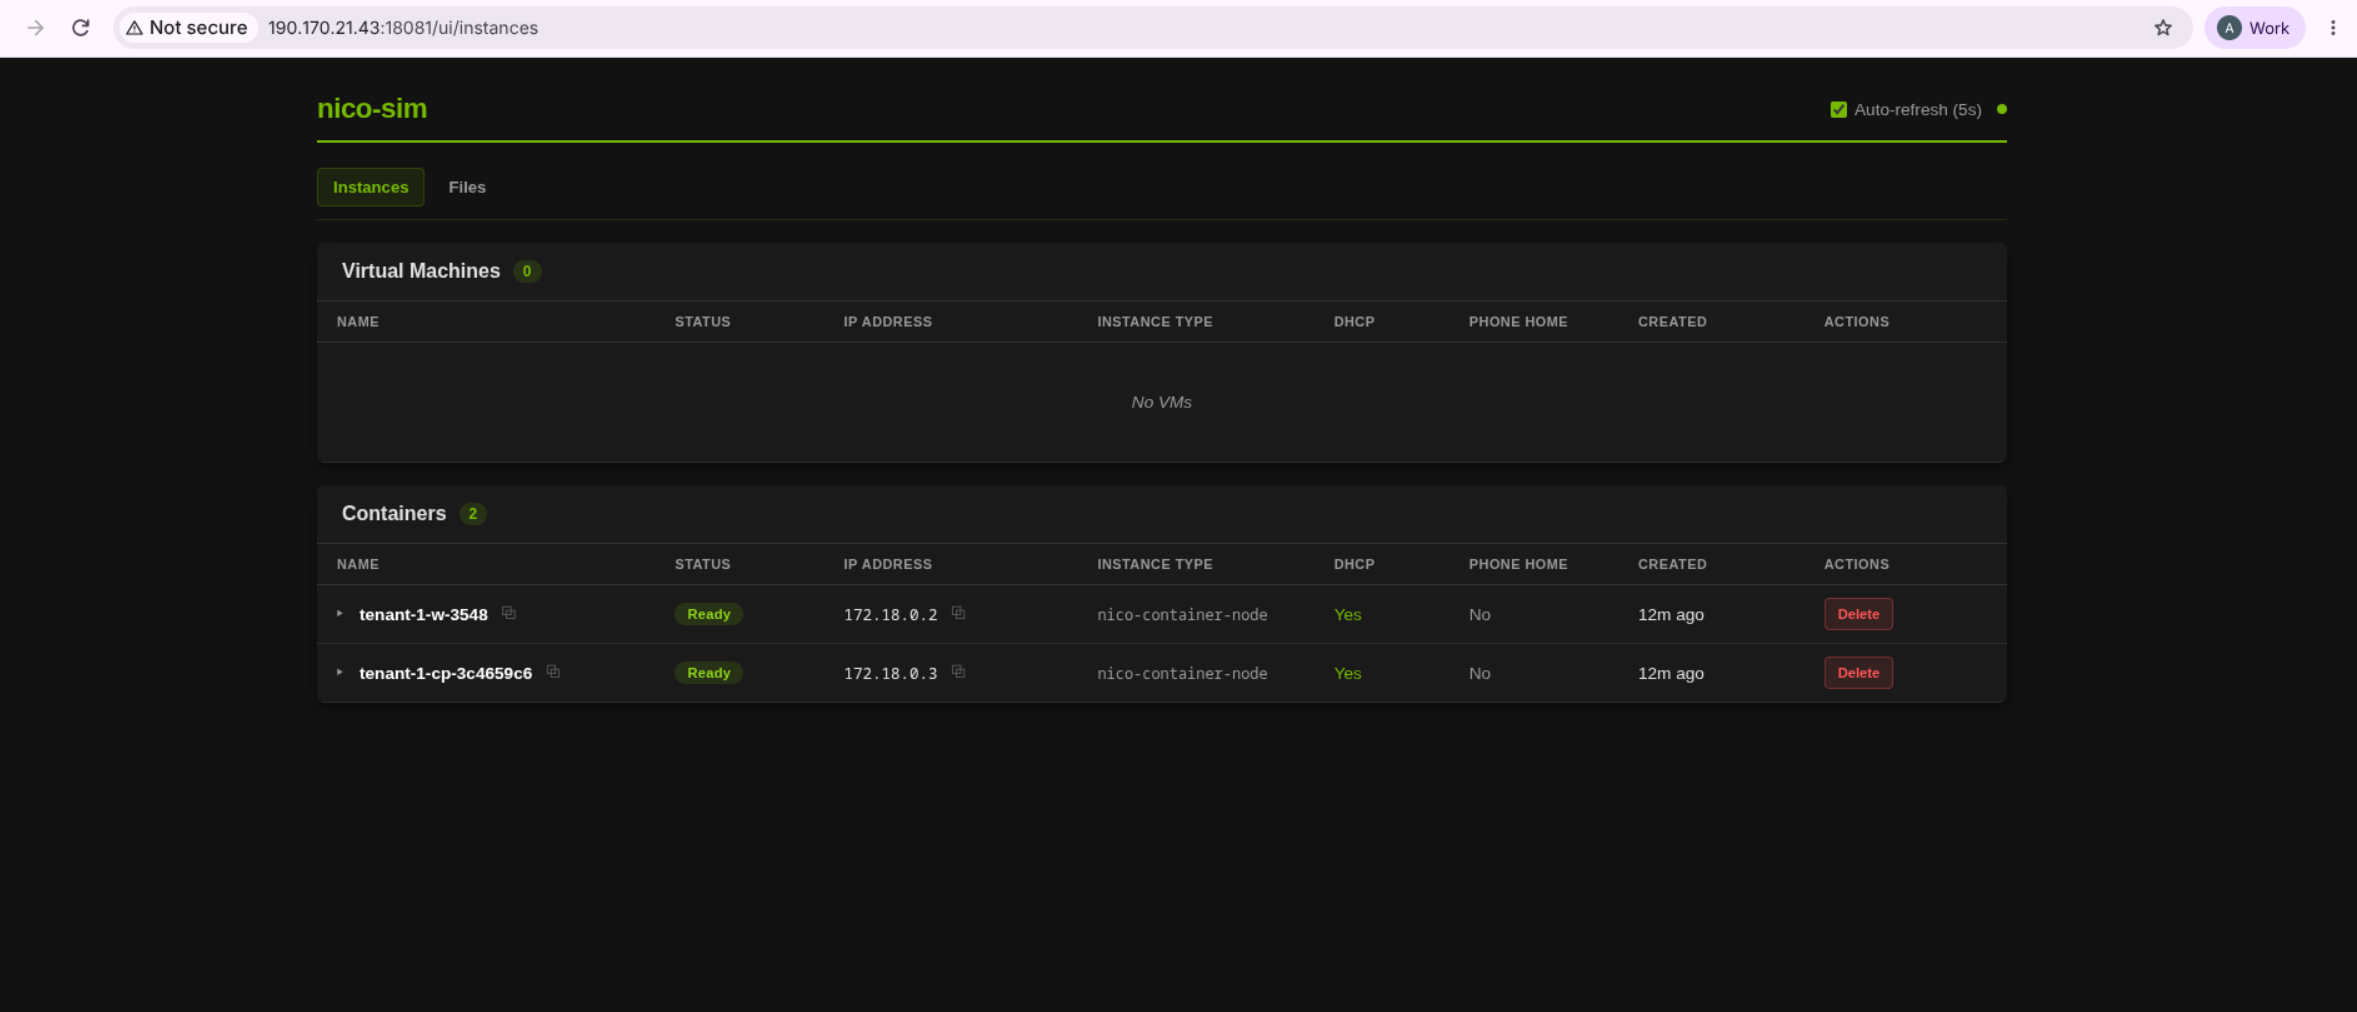
mock-NICo starts each “machine” as a Docker container:

Both machines reach Running:
Get the kubeconfig and check the nodes:
nvkectl get kubeconfig tenant-1 --output-file tenant-1.kubeconfig
kubectl --kubeconfig tenant-1.kubeconfig get nodes

A full tenant cluster, no GPU involved.
Step 8: Watch it in the browser#
Two UIs are worth opening:
- mock-NICo dashboard: the simulated machines.
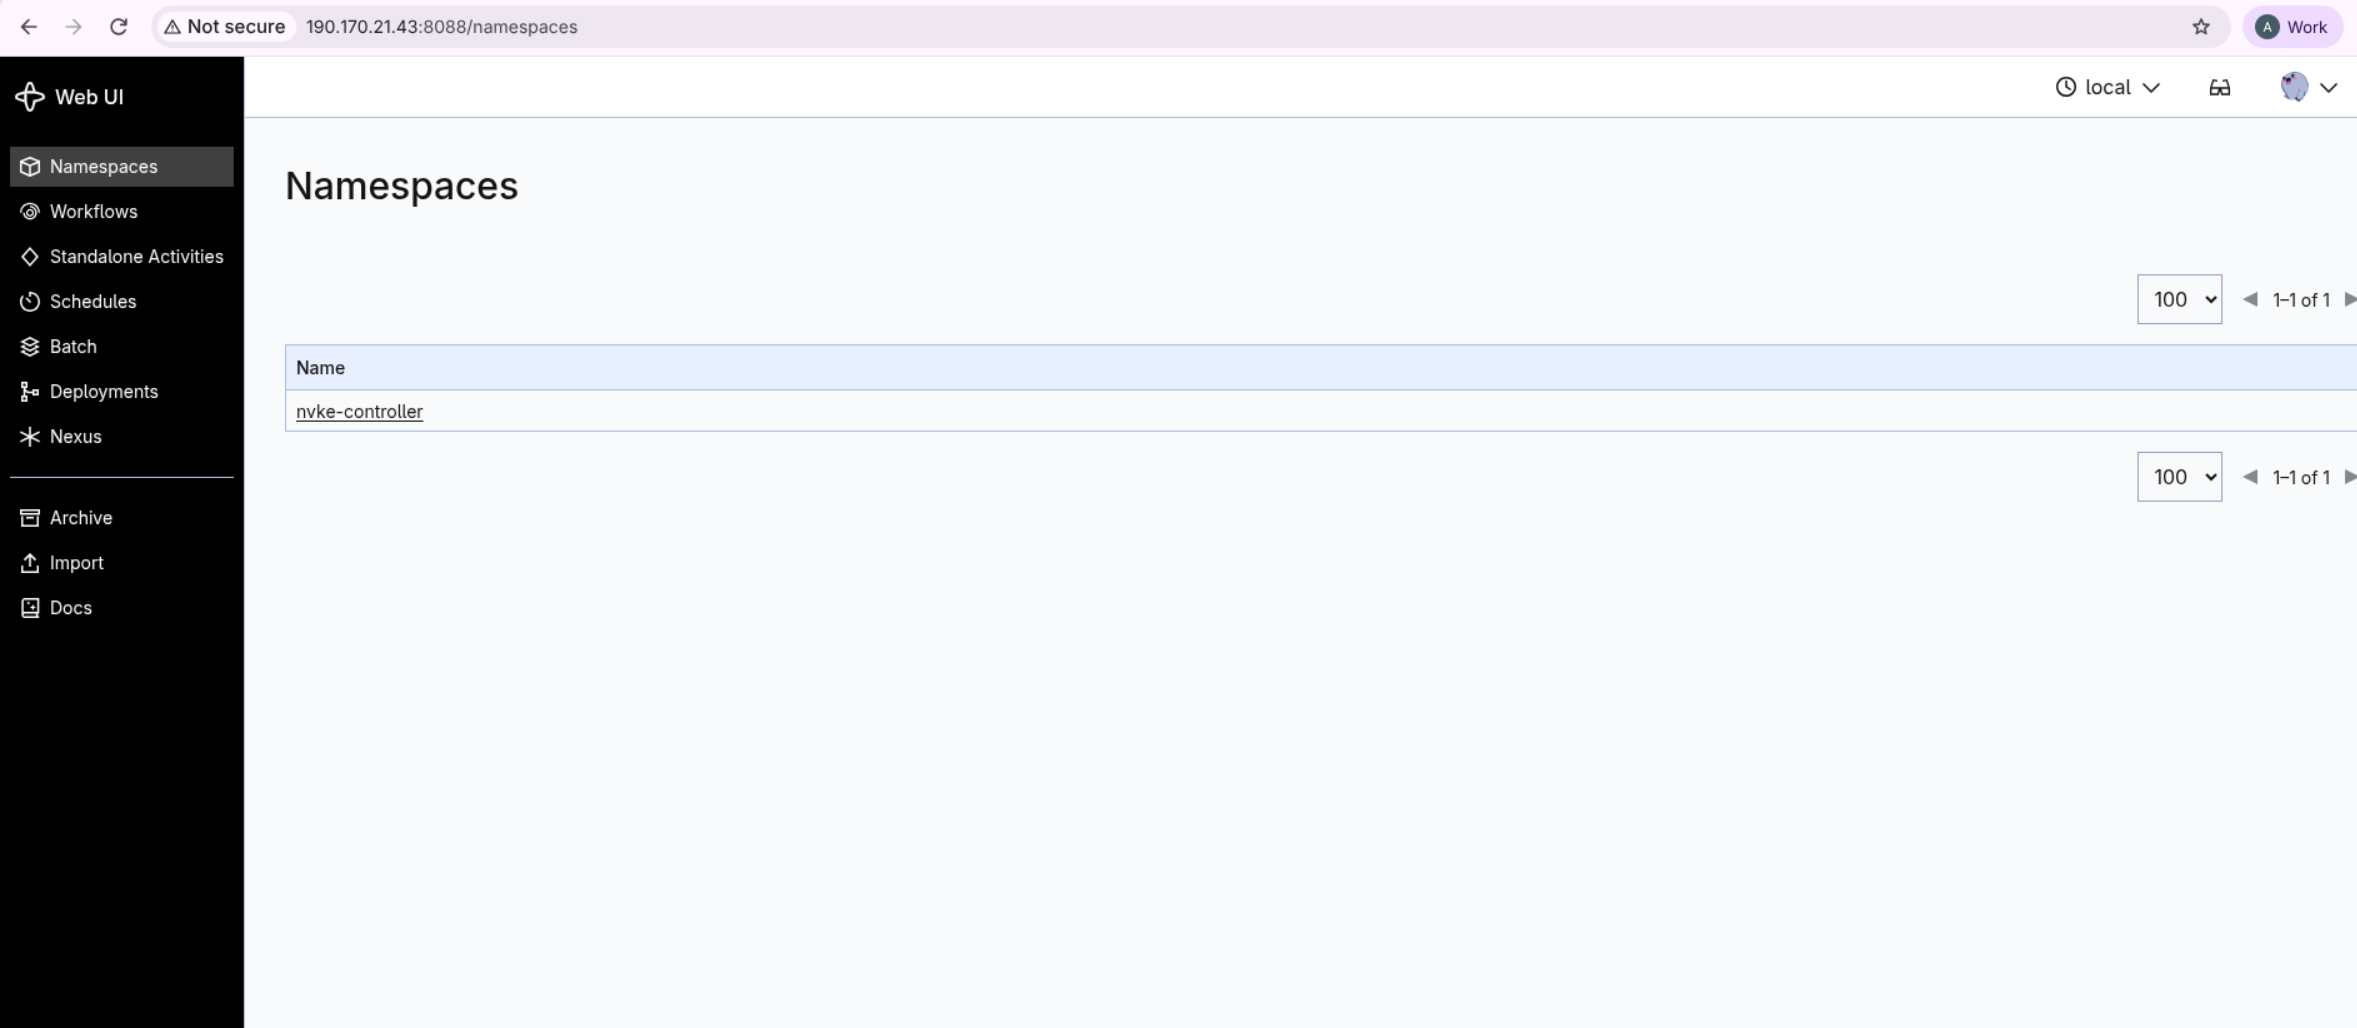
- Temporal Web: every NVKE workflow, step by step, with errors and retries.
Neither listens on the VM’s IP by default, so forward them:
apt-get install -y socat

# mock-NICo → <vm-ip>:18081
systemd-run --unit nico-sim-ui-proxy -p Restart=always \
  socat TCP-LISTEN:18081,fork,reuseaddr TCP:172.26.0.1:18080

# Temporal Web → <vm-ip>:8088
systemd-run --unit temporal-web-proxy -p Restart=always \
  kubectl --kubeconfig /root/nvke-local-site/local-site.kubeconfig \
  -n temporal port-forward --address 0.0.0.0 svc/temporal-web 8088:8080
Open http://<vm-ip>:18081/ui/:
Open http://<vm-ip>:8088, then pick the nvke-controller namespace → Workflows:
Neither UI has a login. Stop the forwarders when you’re done (
systemctl stop nico-sim-ui-proxy temporal-web-proxy), or use an SSH tunnel instead.
Gotchas and fixes#
These error messages don’t point at their real cause:
| Symptom | Real cause and fix |
|---|---|
kubeadm init fails with [ERROR ImagePull] | The node container only got the host’s first DNS server. Give it the rest (below). |
unknown service runtime.v1.RuntimeService on tenant nodes | Inotify limits too low (“too many open files” in containerd). Apply Step 3, then delete and recreate the tenant. |
A failed bootstrap cleans up after itself, so it’s always safe to rerun.
Fix the node’s DNS: compare the node’s resolvers with the host’s, add the missing ones to the node, delete the leftover seed cluster, and bootstrap again:
nerdctl exec nvkectl-e2e-node1 cat /etc/resolv.conf     # the node's resolvers
grep nameserver /run/systemd/resolve/resolv.conf         # the host's resolvers
KIND_EXPERIMENTAL_PROVIDER=nerdctl kind delete cluster --name nvkectl-bootstrap
Clean up#
systemctl stop nico-sim-ui-proxy temporal-web-proxy
make -C "$NVKE_REPO" local-site-down
This removes the tenant clusters, mock-NICo, the management node and the workspace. Built images stay; prune them if you need the disk.
Wrapping up#
The local path is the real path. nvkectl bootstrap site, nvke-deploy.sh install and nvkectl create cluster are the same commands you’d run in a data centre. Only the machines are fake. That makes one VM a great place to learn NVKE, and Temporal Web shows exactly what each step did.